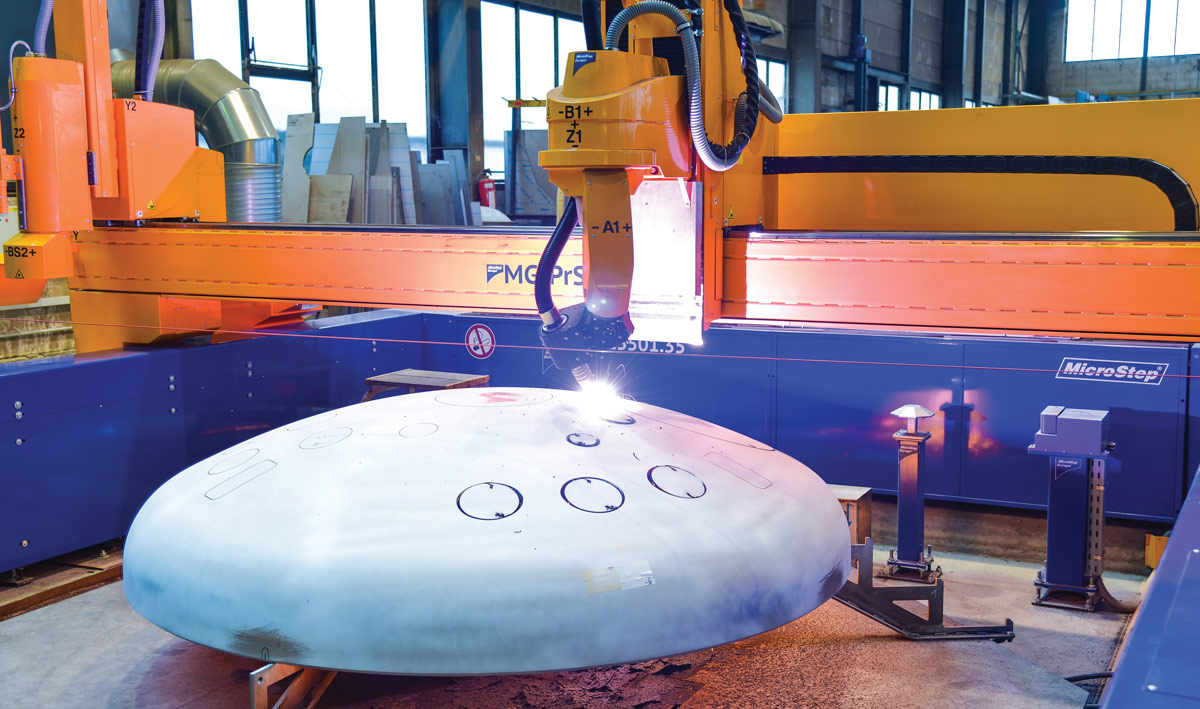
utting 3D objects is essential to the production of pressure vessels and boilers. For fabricators that support this industry, there are several challenges, including the ability to provide fast processing, easy setup and accurate results that won’t dictate secondary, sometimes manual operations.
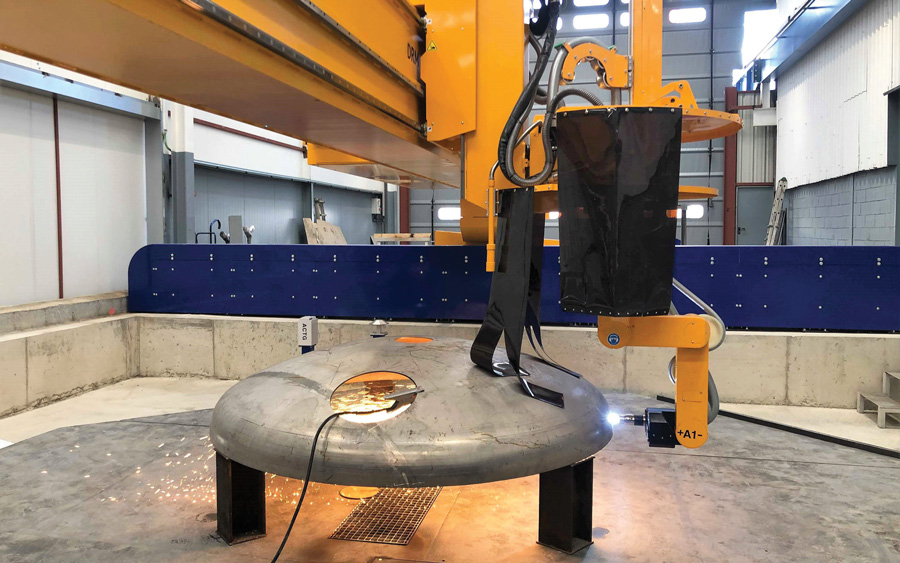
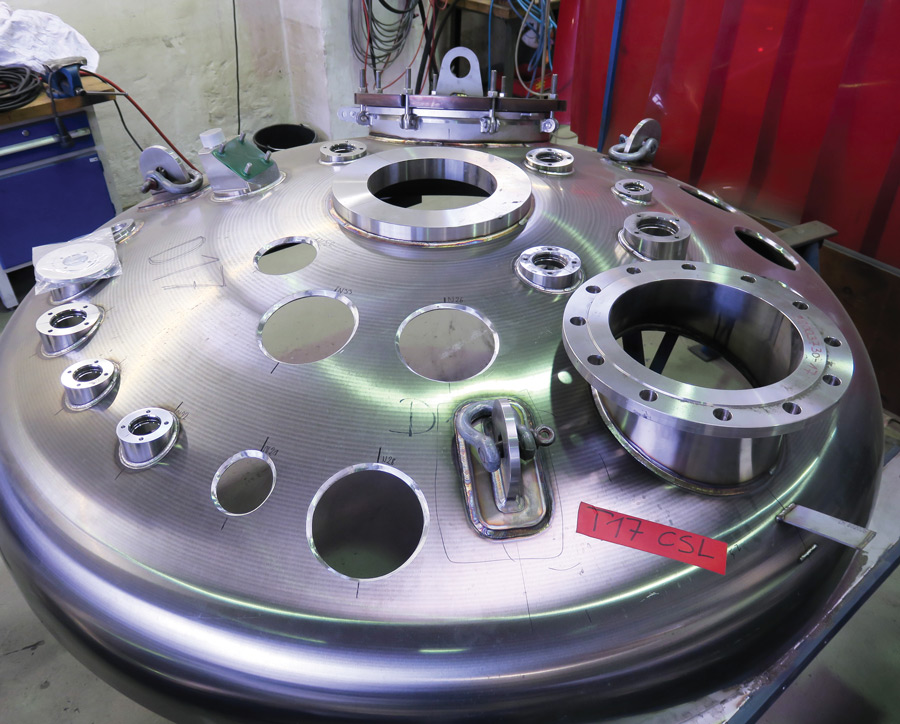
Dome applications require cutting openings in a vessel’s dished end (or end cap) to prepare the area for welding inlet pipes. Dished end edges must also be sliced or trimmed for welding to the vessel’s body. It is critical that cross-sections of the cut edges meet the requirements of these welding processes. Depending on wall thickness, V, X or K cuts with constant or variable bevels must be produced with precise accuracy.
MicroStep has developed a special beveling tool station that allows the tool to be tilted up to 120 degrees while reaching across the entire surface of the dome. The beveling tool station was followed by mScan—an advanced 3D laser scanning process with corresponding point cloud mapping software. The process allows CNC cutting machines to measure the true shape of 3D objects (such as a dome) and use the data to adjust the cutting process. As a result, contours and openings can be cut on the surface with a very high degree of accuracy in compliance with production requirements.
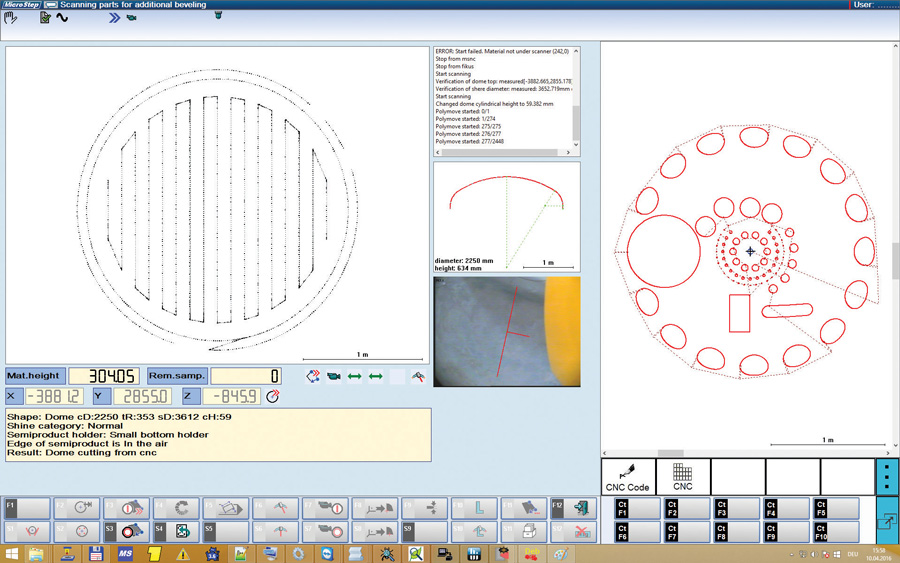
MicroStep’s mScan software generates a model of a dome to measure and describe parameters, including any shape deviations.


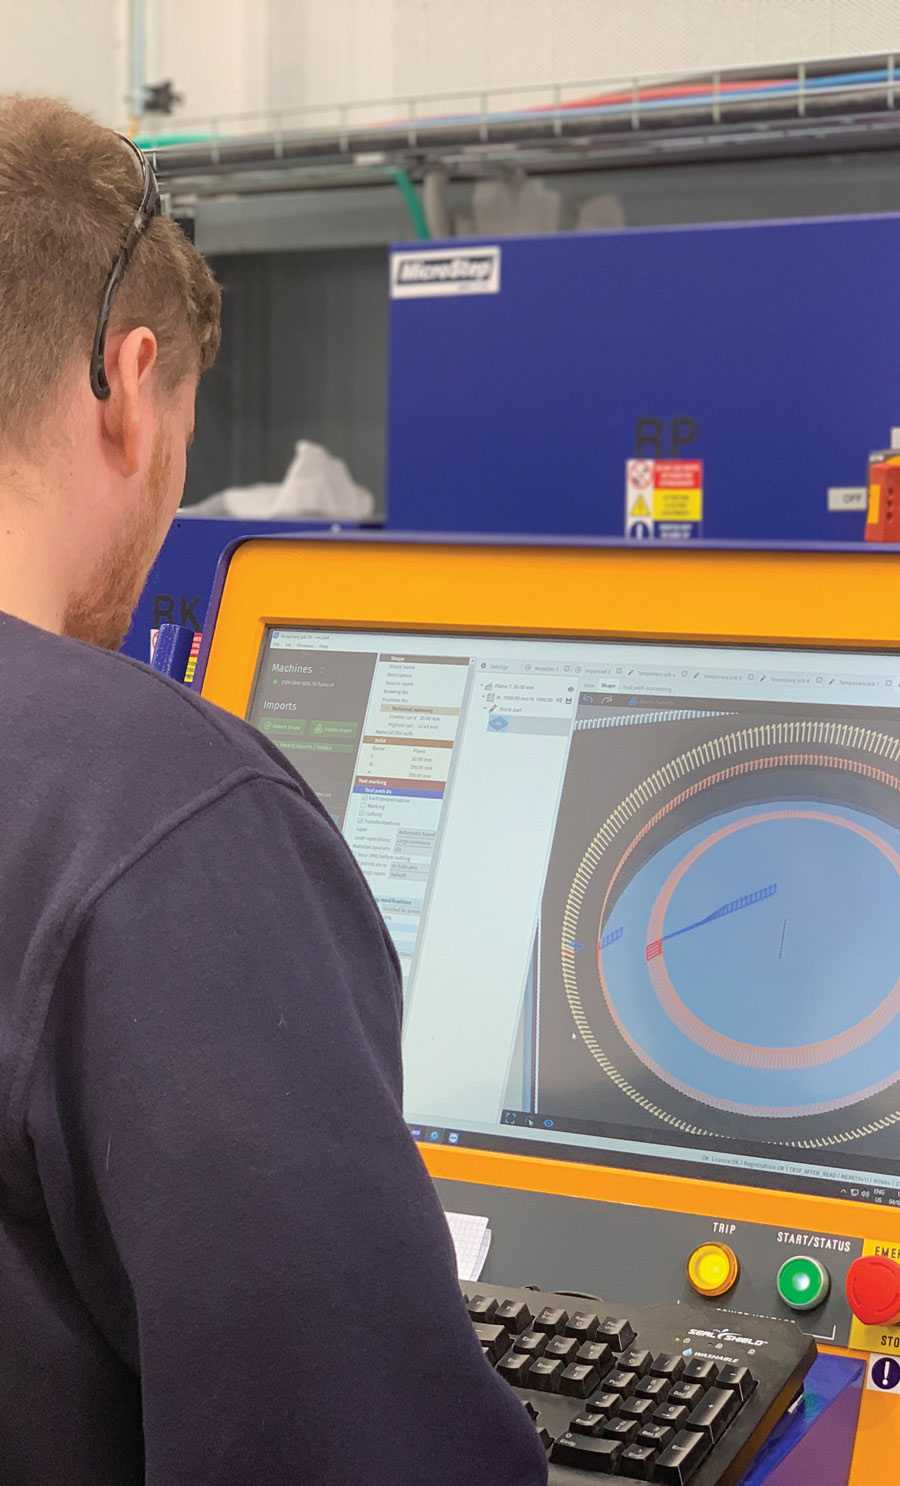
mCAM, MicroStep’s 3D CAM software, maps the generated cutting path—the ideal cutting path created for the ideal shape of the object based on its STEP model—onto the scanned object. A new cutting plan is generated to fit the true shape of the object. Automatic processes are conveniently displayed for the operator in the form of 3D visualizations on the control system screen. Depending on the dome size, the entire process, which is carried out prior to the actual cutting, is completed in just 2 to 10 minutes.
 mScan allows CNC cutting machines to measure the trueshape of 3D objects.
If the cutting plan involves just the flat spherical top part of the dome’s surface, it is not necessary to scan the entire dome extensively. If cutting into the flatter top part, the height control during cutting can be based on plasma arc voltage, which is a standard function of any MicroStep plasma cutting machine.
The modular structure of MicroStep equipment allows a machine to be customized to a customer’s exact requirements for dimensions, types, cutting zone locations and tool station configurations. As a result, a single gantry with a bevel tool station, 3D scanner and marker can be used for processing both domes and flat sheets.
Since the first machine was installed in 2003, MicroStep has delivered more than 60 CNC cutting machines with dome cutting capabilities. With the introduction of mScan in 2016, there are now more than 40 dome cutting solutions operating in 15 countries. In 2021, MicroStep further advanced the 3D cutting process with the introduction of CAMLive. This represents a novel approach to cutting 3D objects and makes it possible to scan the true shape of 3D objects, such as dome segments and cast or formed parts, and adjust mCAM-generated cutting paths accordingly to the object’s true shape. As a result, the scanning process is no longer limited to domes and beams. Together with the optimization of the scanning process, CAMLive makes advanced dome processing more user-friendly.